


I have tossed around the idea of removing an existing cabinet door in our kitchen to create some open shelving for as long as we have lived in this house, but I didn't think we had a good spot for it. I always pictured it on the peninsula side of the kitchen where I have always kept my cookbooks and other various items, but the three cabinets are all open to each other. It is basically one long cabinet with three doors so there is no actual division between the cabinets. I knew that I couldn't afford to lose the closed storage for the whole cabinet, so I just kind of let it go.
Fast forward to a few weeks ago. My sis and I have been going through some of my Mother's things. She had tons of cookbooks and we each ended up keeping a pretty sizable stack of them. Since they belonged to my Mom and are pretty, I knew that I really wanted them to be more visible in my kitchen. I also knew that if I could see them, I would be more likely to actually use them.
I started looking at the rest of my kitchen trying to figure out which cabinet would be "the one". I finally realized that the one on the end was the perfect choice based on what was inside and the configuration of the shelves. Our shelves are fixed and this is the only one that has just two shelves leaving enough room for some of the taller cookbooks.
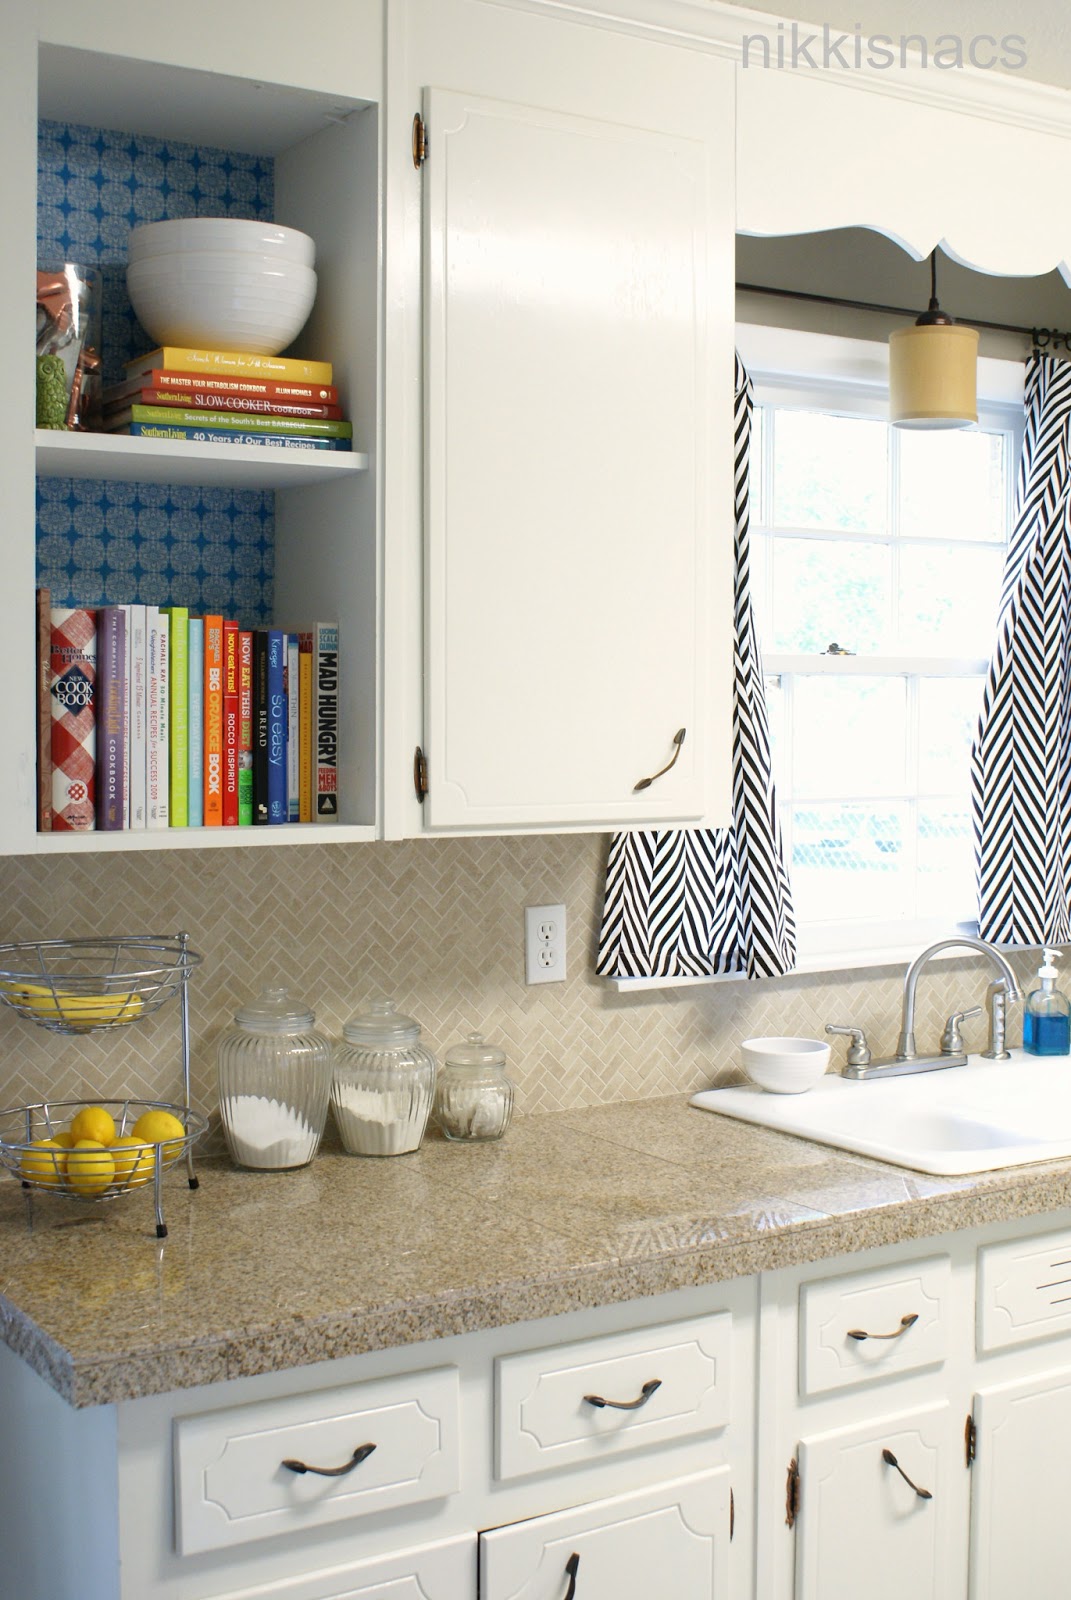
Once the cabinet door was removed I knew that I wanted to add some color to the back of the cabinet. My initial thought was paint, but the more I thought about it, the less appealing paint seemed. I happened to have a roll of teal and white wrapping paper on hand that I picked up in the dollar bins at Michael's many months ago and knew that it would be the perfect choice. 1. I didn't have to whip out the paint and paint brush. 2. It only took about 15 min. from start to finish and the project was done. 3. The wrapping paper could easily be removed if I changed my mind. SCORE!

Once the door was removed, the paper was simply taped to the back and it was time to fill the two shelves.
I kept the cookbooks that I am most likely to reference the most on the bottom shelf and the ones that I will use less often on the top shelf. I also added 2 of my favorite white bowls and a glass vase that I filled with my Mom's silver and copper cookie cutters. I did eventually go back and fill the holes where the hinges were and then touched up the paint. I waited a few weeks to do so to be sure that I was happy with the new set up.
I am really enjoying the addition of some color to the kitchen and it is nice to have the cookbooks out on display.

Have any of you been removing cabinet doors to create some open shelving? Do you have any type of open shelving in your kitchen? How do you like it?
Linking up to these Blog Parties Tatertots and Jello - A Bowl Full of Lemons - The Bliss Diaries - Positely Splendid - Delightful Order - It's Overflowing - The Shabby Nest
-House of Hepworths


I love open in shelves in kitchens! In our kitchens previous life my I took the doors off the 'dinnerware cabinet' and loved how it looked! Just made everything so easy, plus it helps you stay organized. My kitchen now has floating open shelves - can't wait to add cook books out in the open like you have along with other pretties.
ReplyDeleteI really like how yours is setup and functional, cute idea with organizing your cookie cutters! :)
There will not be many web sites with data like this man!
ReplyDeleteBookmarked!
Look at my page: having trouble getting pregnant with second Baby
Something so simple yet it makes a great feature in your kitchen! Great job! I love white kitchens! www.prairiegirl4-thatcountryplace.blogspot.com
ReplyDeleteI love your open shelves, the paper you used and the color recipe books are so pretty! If you get a chance, please link this up to my linky party: http://suburbsmama.blogspot.com/2013/05/sunday-linky-party-9.html
ReplyDeleteI've been toying with doing this too... love the paper you chose as a background. It looks wonderful!!
ReplyDeleteKrista