
The mirror still isn't framed, but we will eventually get around to it. My sister is getting married in our backyard in Sept. so we have shifted our focus to the yard for now.

Here is the before. (before we moved in) I thought I had a better before and opted not take any right before I started ripping wallpaper. My bad. Take special note of the paper cup dispenser mounted on the side of the cabinet. Really?

I did take an up close and personal before pic of the cabinet before it was painted.

after
We went back and forth a good bit about how far we were going to take this redo. I REALLY like the old floor tile that is in here, but we talked about taking it up and putting in the same floor tile that is in the rest of the house. That could have potentially led to having to replace the vanity, issues with the toilet, and it could have left the front of the tub a mess. If we decide to purchase this house after our lease is up we would want to do a complete reno, so we decided to just keep it simple and not create more work than necessary.

The first thing I did was remove all of the wallpaper and touch up the walls. (Very messy job)
Then I primed the walls and painted them. The color is Smoked Oyster by Valspar (color matched to Olympic's Fast Hide paint in semi-gloss, left over from the kitchen)

We took out the tile baseboard in this half of the bathroom an replaced it with a 4" painted wood baseboard. It gave the room a more updated look and left it looking a lot less green. We left the tile baseboard in the room with the toilet and shower because there wasn't a good way to finish it off next to the shower.

The light fixture was replaced with a new one. I went to Lowes with the intent to purchase a new ORB (Oil Rubbed Bronze) light fixture somewhere in the $25-$30 range, but spotted this one in brass on clearance for $12. I liked the shape and price better so I just spray painted it with ORB spray paint.
Here is my ORB spray painting tip. I like the finish of the Rustoleum Brand ORB paint the best, but it is usually in the $6-$8 price range per can. The Krylon brand (my fav brand for all other colors) ORB finish is a little darker and just not quite the right color, but it is usually in the $3-$4 price range per can. I spray the piece (after priming) in the Krylon brand (2-3 light even coats) and then I mist 1 very light coat of the Rustoleum brand and end up with the correct color. I have done several light fixtures and cabinet knobs/hinges in the last few months, so this has saved me a good chunk of $ by using less of the Rustoleum brand.


The slightly neon green formica countertop was tiled over with leftover tile that had been sitting in my dad's warehouse. Yea, for free tile. The sink and faucet were also freebies that were taken out of a bathroom that was remodeled. They were newer and much better looking than what was there, so I was happy with not having to purchase new ones.
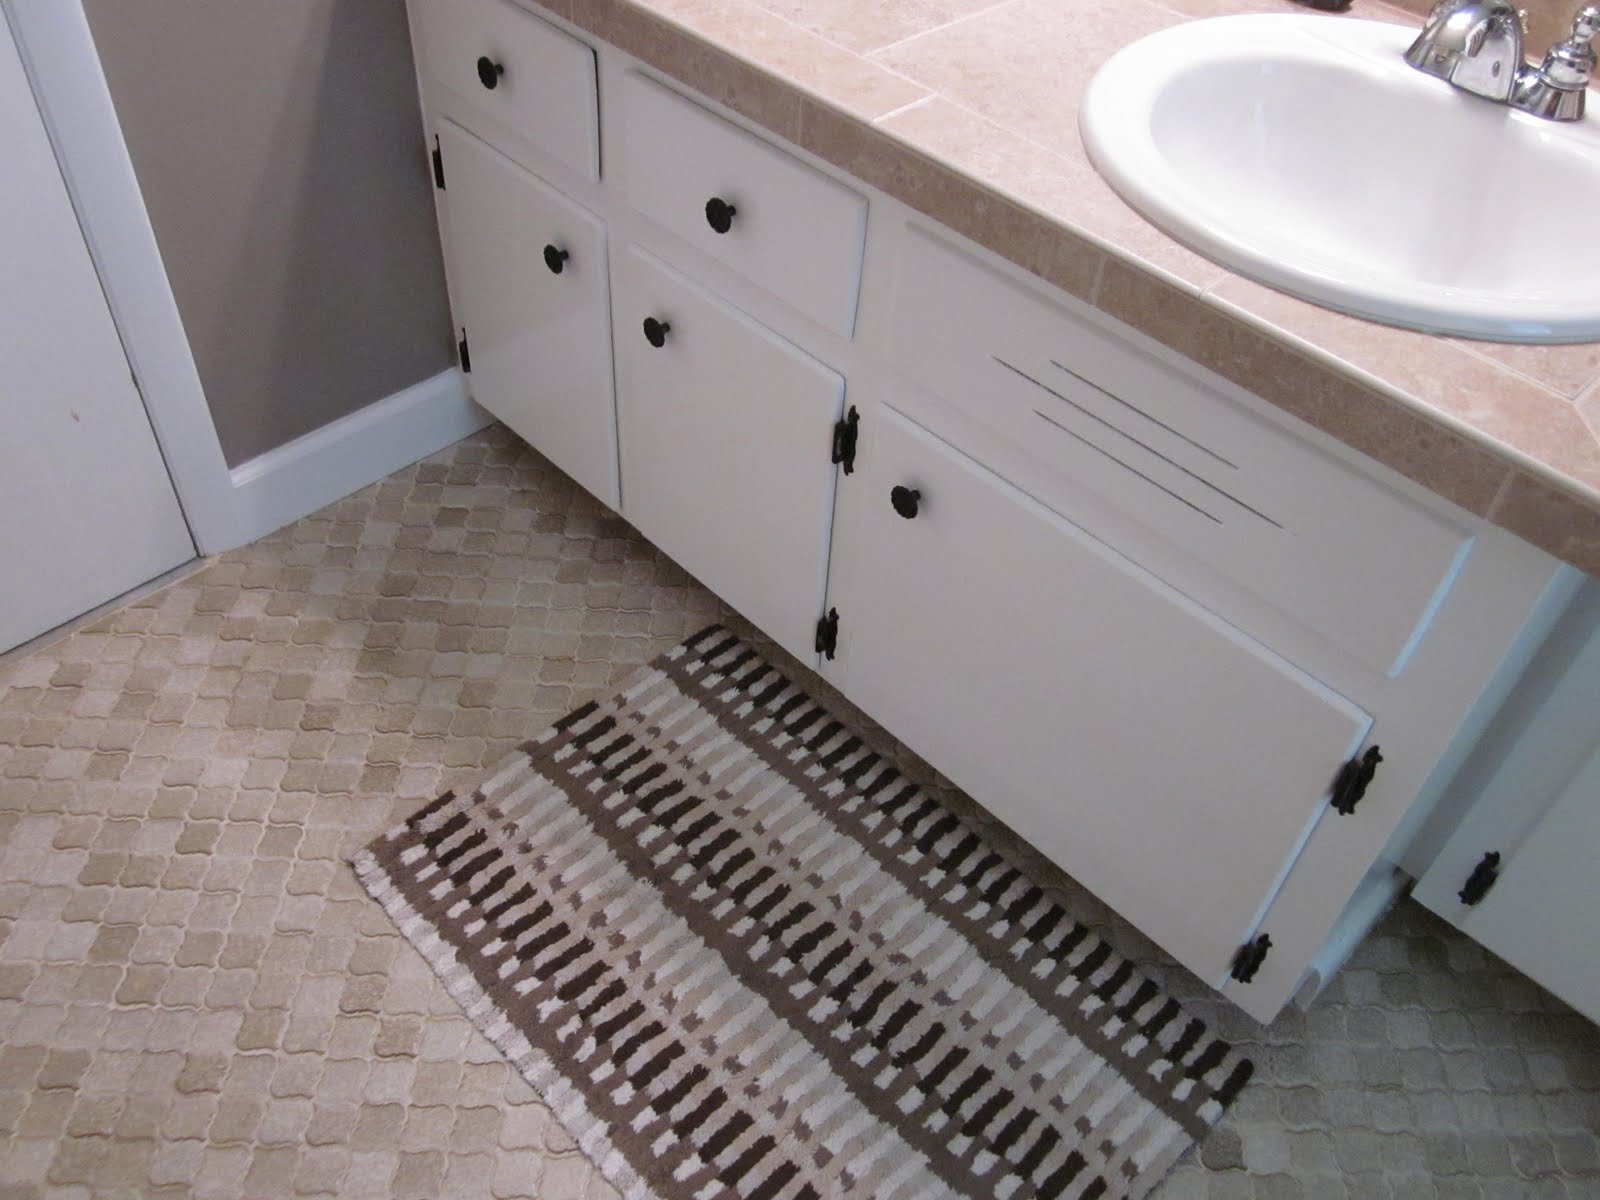
The rug and hand towel are from Target.

I really liked the shape of the old cabinet door pulls, so I just primed and spray painted them ORB, and then sealed them. I did the same thing with the hinges. If they end up not holding up well I just replace them. This is the guest bath, so they don't get used all that much.

We did purchase and install a new towel ring and toilet paper holder. Even I didn't attempt to spray paint and reuse those items.


There is a Thirty-one Gifts Catalog Party- Bring Journey Home Event going on now through July 24th at 8 p.m..
If you would like to purchase something to help bring Journey home you can shop using this link.
This is where I introduced you to Journey. You can find her mother's blog here. If you would rather give directly to her adoption fund you can visit her mother's blog and donate through paypal.
Linked to:
Just a Girl - Show and Share Day
Tatertots and Jello - Weekend Wrap Up Party


Thanks for the Journey shout out!, The Fund Raising is going slow but God is in control and nothing is impossible for him.
ReplyDeleteSo excited about Stephanie, like you, she is just beautiful! I hope you will post pictures! Where is she registered?
Okay, Love you Make-Overs! YOU have talent! thanks for showing yours!
The bathroom looks wonderful!!! I like the floor in there too so I am glad you didn't pull it up. Thanks for the ORB tips because I am actually going to my mom's house today to spray paint a mirror frame for her.
ReplyDeleteLooks wonderful!! I wish mine looked like that!! I am visiting from Tatertots and Jello and I am a new follower! I would love love love if you would link this up to my Delicately Constructed linky party!
ReplyDeleteI hope you have a fabulous weekend and I see you around soon!
Michelle
www.delicateconstruction.blogspot.com
I like it, Nikki!! I like the tile too. And how come everytime I look at stuff you've done and read how you saw a brass light fixture and decided to paint it, I think, "Man, my mind doesn't go there!" Good work!
ReplyDeleteSolid wood countertops or butchers block surfaces are generally excellent all through beauty and also operate. This specific counter-top is normally created from challenging good ole’ maple and also walnut that offers enjoyable glow for you to just about any kitchen.
ReplyDeleteOh my!! Looks super fabulous!!
ReplyDelete